Create a shot list

By writing down the details and order of the recipes you need to capture, you’ll create a game plan for your team.
- Clearly define what you want to portray in the photo through the use of photo outlines, storyboards, and layouts.
- The shot list can help your team define the angles of each shot based on the recipes you’re planning to capture. Examples include: Steakburger (eye-level angle), Salad (three quarter angle), Pasta (overhead angle).
- An approved shot list will also serve as guidelines for ingredient shopping and prop gathering.
Plan your set

- Purchase or prepare enough food for multiple variations of the same dish to be shot. This is especially relevant when you are using a “stand-in” and “hero” dish.
- A stand-in dish is used to frame up the location and lighting of the shot. Be sure to use elements that are the same size, shape and color of your hero dish. For example, if you are capturing a burger image, your stand-in could be two slices of bread and a frozen beef patty. It’s merely used as a placeholder until your setting is ready and the hero dish is at its peak freshness.
- Try moving around the plate and taking photos at various angles to determine your favorite for that dish.
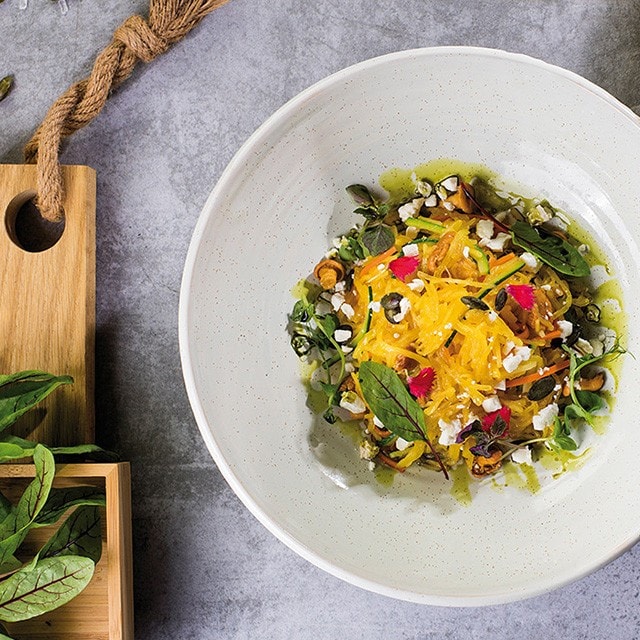
Use appropriate props

The props and dishes can be just as important as the food. Make sure the plates, glasses, table cloths etc. all portray the intent of the food being shot.
- Minimize clutter. If a spoon, napkin or busy background doesn’t add to the photo, it detracts from the photo. Focus on what is most important.
- Be true to your brand. Utilize props within your establishment to set the tone of the image.
- Use paper to add texture to plates. Lining plates with parchment or baking paper helps to add visual interest and soften the lines of your plates.
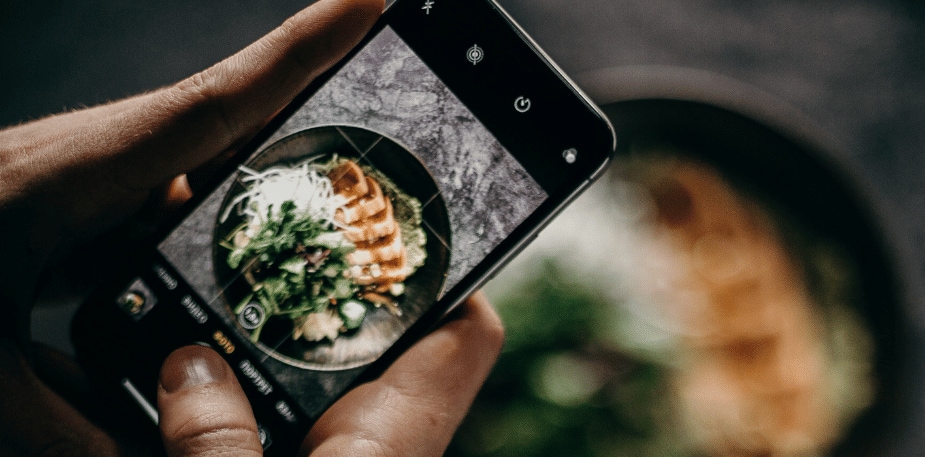
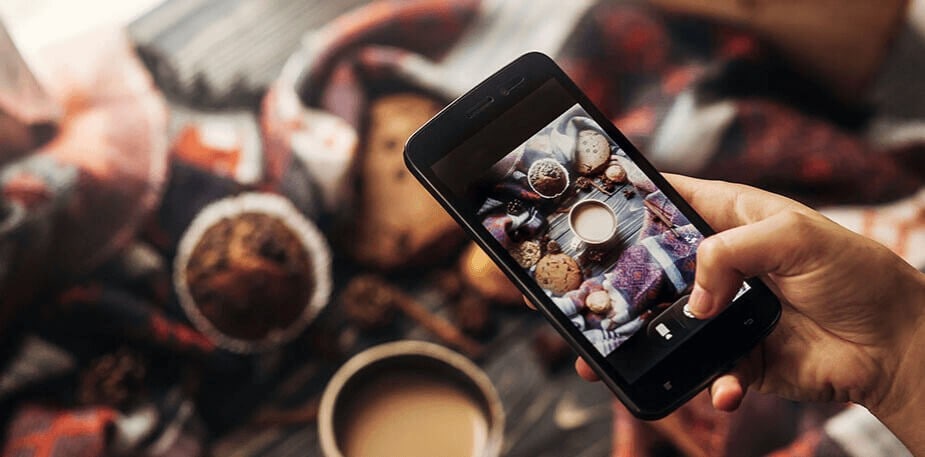
Pay attention to lighting

Take photos under natural light. Try not to use overhead lights, lamps or your built-in flash if possible.
- Move around to find the best light source. Don’t feel confined to taking photos just in the kitchen or food pass. Perhaps the light is best near the front door in the morning, and dining table in the afternoon.
- Avoid using unrealistic filters. If capturing an image with your mobile phone keep the image as real as possible. Overly stylized or edited images do not appear real to customers.
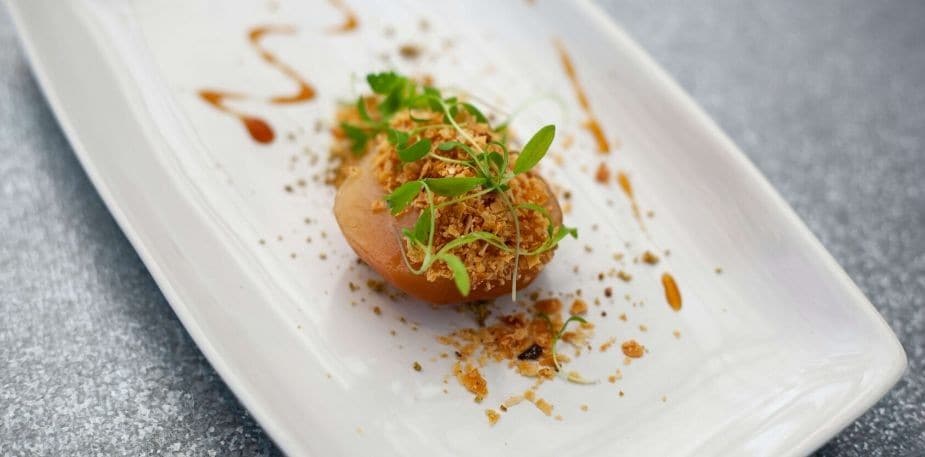
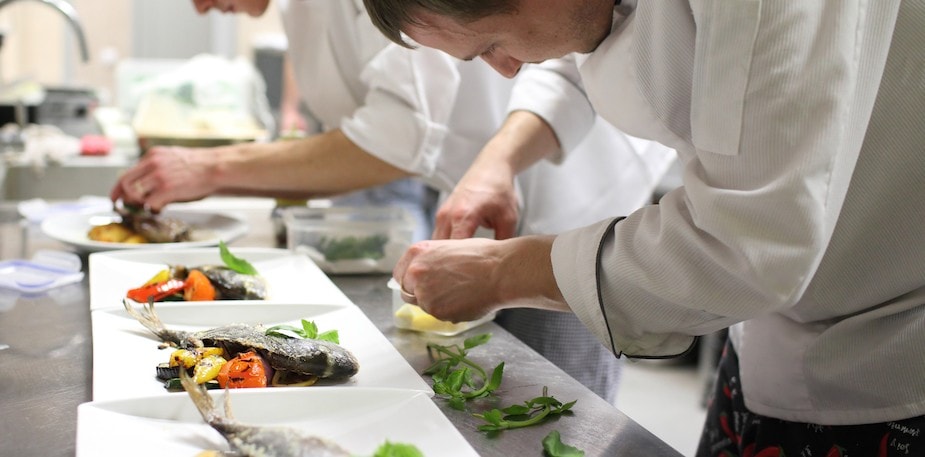
Focus on food styling

- Arrange food so it looks good through the camera lens—not necessarily to the naked eye. This tactic will also determine the angle and source of light.
- Use less food than you normally would. While it may seem more generous to serve plates piled high with food, an over-crowded plate can look less appealing than a minimalist spread. Think about how you can use the white space of the plate to frame your dish.
- Be aware of the conditions where you are shooting the food. Extreme cold, heat, dryness etc. will affect the food over time and cause its appearance to become unappetizing.
- If capturing hot items such as burgers with melty cheese or a creamy alfredo make sure the food is prepared just moments before you are ready to shoot. Food that has been sitting under a heat lamp will no longer look fresh, juicy or melty on set.
- When capturing a salad avoid adding the dressing until your test shots and angle are where you want them to be. Once a salad is dressed, the hero build becomes weepy within a minute.
- Emphasize the natural beauty of the food and allow elements of the recipe to fall naturally. For example, if you are shooting fried chicken make sure there are some realistic crumbs around the plate or on the table.
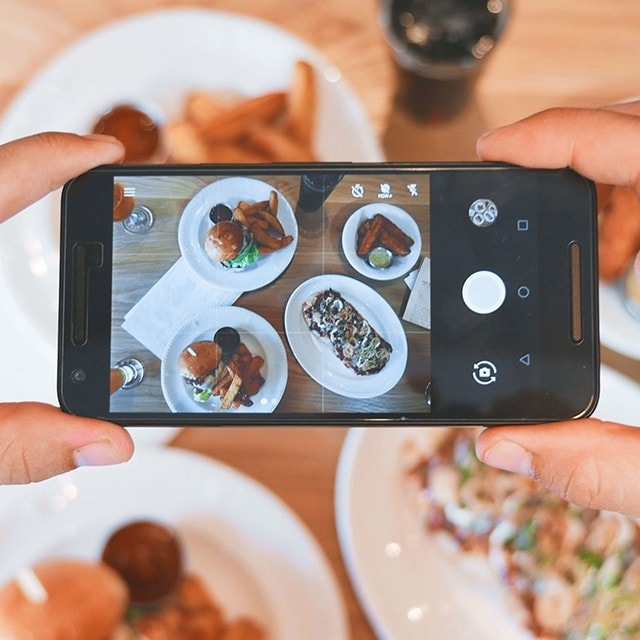
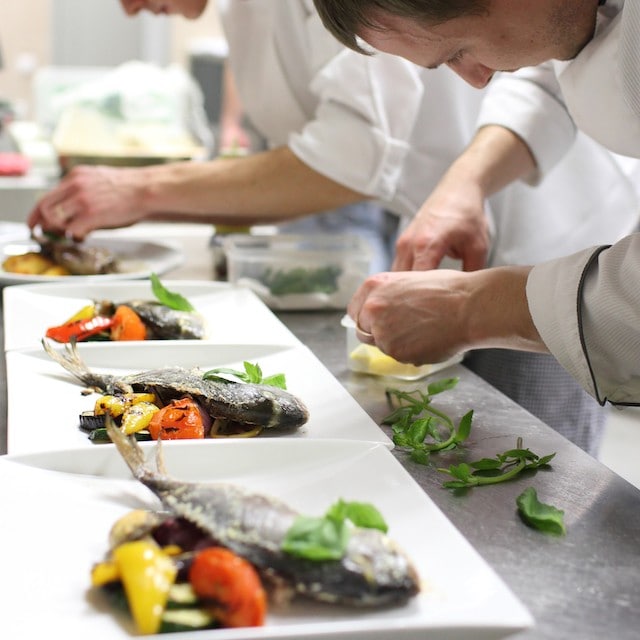
Capturing the perfect image

- Work quickly. The faster you take pictures of the food, the fresher it will look.
- Details are key. Check the edges of your plates and glasses for stray food, and wipe away any smudges. Use sauces and garnishes to add color to drab shots (e.g., adding a lemon wedge to iced tea).
- Take lots of pictures. Move around the food and see what angle looks best: down low to see the food head-on or up high to take in the geometry of the presentation.
- Consider documenting the process. Sometimes making the food (chopping, cooking) can be as interesting as the final product.
- Try getting in as close as you can. Use the macro setting on your camera if it has one. Fill the frame with the food, so the viewer can almost taste it.
- Check your captures along the way to make sure food looks fresh, hot or gooey. Also check to make sure the hero portion of your shot is in focus and props are not distracting.
- Keep your camera level, and if there are any strong lines in your image, try to keep them as straight as possible.
Find more about food plating.